<libpath "c:\w3\">
<lib "textures.w3d">
<seed 35>
<normalize>
These keys act as variables for the easy manipulation of the pyramid. At any time, the corner points (A,B,C,D) or the apex (E) can be moved just by altering these keys. No other searching or altering is nessecary in the script.
<keys "Ax" 1 -3>
<keys "Ay" 1 0>
<keys "Az" 1 3>
<keys "Bx" 1 3>
<keys "By" 1 0>
<keys "Bz" 1 3>
<keys "Cx" 1 3>
<keys "Cy" 1 0>
<keys "Cz" 1 -3>
<keys "Dx" 1 -3>
<keys "Dy" 1 0>
<keys "Dz" 1 -3>
<keys "Ex" 1 0>
<keys "Ey" 1 5>
<keys "Ez" 1 0>
<keys "av" 1 .5>
<structure>
<apply "matte">
<ambient av>
<vtx0 Ax Ay Az>
<vtx1 Bx By Bz>
<vtx2 Ex Ey Ez>
Each triangle will be bound to two corner points and the apex. This allows for complete control over the shape of the pyramid by altering the keys above.
<color0 0 0 1>
<color1 0 0 1>
<color2 0 0 1>
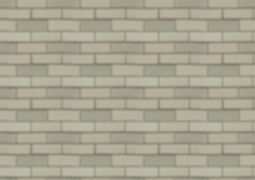
<imagemap "c:\imagemaps\brick1.jpg">
<object tri "tri_1">
</structure>
<structure>
<apply "matte">
<ambient av>
<vtx0 Bx By Bz>
<vtx1 Cx Cy Cz>
<vtx2 Ex Ey Ez>
<color0 0 0 1>
<color1 0 0 1>
<color2 0 0 1>
<imagemap "c:\imagemaps\brick1.jpg">
<object tri "tri_2">
</structure>
<structure>
<apply "matte">
<ambient av>
<vtx0 Cx Cy Cz>
<vtx1 Dx Dy Dz>
<vtx2 Ex Ey Ez>
<color0 0 0 1>
<color1 0 0 1>
<color2 0 0 1>
<imagemap "c:\imagemaps\brick1.jpg">
<object tri "tri_3">
</structure>
<structure>
<apply "matte">
<ambient av>
<vtx0 Dx Dy Dz>
<vtx1 Ax Ay Az>
<vtx2 Ex Ey Ez>
<color0 0 0 1>
<color1 0 0 1>
<color2 0 0 1>
<imagemap "c:\imagemaps\brick1.jpg">
<object tri "tri_4">
</structure>
Ground:
<normalize>
<structure>
<apply "brightmatte">
<vtx0 10000 0 10000>
<vtx1 10000 0 -10000>
<vtx2 -10000 0 10000>
<color 1 0.9 0.8>
<color0 1 .8 .2>
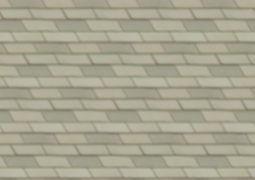
<uvtexture "dunes" 2 .01 0>
<object rect "sand">
<normalize>
</structure>
<object bound>
Light:
<normalize>
<position 5000 500 2500>
<color 1 1 1>
<object light "light_1">
<viewlocation !cos(loopv(cframe(0))*6.281835)*14 6 !sin(loopv(cframe(0))*6.281835)*14>
This moves the camera in a circle on the x-z plane. See this page for more on mathematical expressions.
<viewtarget 0 0 0>
|