|
| Quick Nav Bar | ||||||||
|---|---|---|---|---|---|---|---|---|
| << Previous | Contents |
Selection |
Op Index |
Parent | User Notes |
Index |
Glossary |
Next >> |
A morph usually takes two images and produces one or a series of output images. WinImages Morph displays the two original images in the Start and End windows.
A morph changes the shape of the subject in the start frame to the shape of the subject in the end frame. To achieve this, the program requires you to identify similar features in both frames. Each control element you add has a position in the start image and a position in the end image.
For example, a morph between two faces would require controls around each face, on the eyes, nose and mouth. For more detail, you could place controls around the eyes and around the mouths of each subject. You can even place controls on more subtle features such as dimples and tufts of hair. As a general rule, the more detail in which you manage the morphing process by creating more controls, the better the results.
There is an example morph project supplied with the program which you can load and demonstrate.
To try it, run WinImages Morph,
When an output morph image is produced, it will be displayed in the Result window. Additionally, a smaller copy of each result image can be put into the film strip. However, your best result image should be the one saved directly, not the film strip copy.
To ensure that the result frames will get saved:
With these options selected each result frame will be saved as it is created. If you selected Animator FLIC animation or Video for Windows AVI as your output format, each frame will get added to an FLC (or AVI) file.
Step by step to save into an AVI animation file:
|
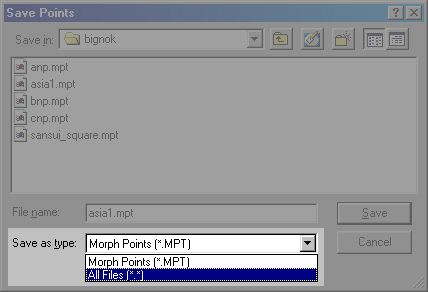
Once you have saved the object file and then the project file, you can save further work by saving only the object file. You can also load other point sets in and work with them, and you can save point sets with other names in case you think you might want to use them later. Because the project file was saved right after the save of the original object file, it contains only the name of the original point set, and other point sets you load or save will not conflict with the original point set.
This provides a great deal of flexibility, flexibility that is definitely needed for sophisticated manipulation of morph projects. However, you do have to keep in mind how it all works when you begin learning to use Morph, or you might not get the results you want.
For instance, if you create myobjects.mpt and then save the project, then modify the points and save them as moreobjects.mpt because you don't want to over-write myobjects.mpt (you're trying something new, perhaps), and then you decide you do like the new controls, then you either need to save the project again so it "knows" it's using the new point set, or else you need to re-save the point set as myobjects.mpt to over-write the original set you saved with the new set.
Finally, keep in mind that objects and projects are maintained separately for flexibility. Saving the project does not save objects. So you must always save your objects before exiting the program - saving your project does not save your objects!
See Also:
| Quick Nav Bar | ||||||||
|---|---|---|---|---|---|---|---|---|
| << Previous | Contents |
Selection |
Op Index |
Parent | User Notes |
Index |
Glossary |
Next >> |
| WinImages F/x Manual Version 7, Revision 5, Level B |