Page 317
Quick Nav Bar
<<   Previous Contents
Selection
Op Index
Parent User Notes
Index
Glossary
Next   >>


Gold Foil Text


  1. Create an image of a convenient size (we used 512x512 for this tutorial.)

  2. Run This Script using the "Entire Image" area selection tool. To do this, copy the script lines, open the script editor, paste them in there and save them as "goldfoil.wis" or something similar. Then run the script by clicking on the image. This is what you should get:

    Tip:

    ...a little something from the propeller-heads at Black Belt Systems
    If you're wondering where the heck that gold foil came from, it was created using a normal series of operations in WinImages F/x. The script just runs them one after another to get the composite result. To see what was done, examine the script; it is written in such a fashion as to be quite easily understood. You might want to look into scripting!

  3. Now create a new image, same size, filled with white:

  4. Using fairly large text, create the text you want to have in black. We used "Justin" as you see:

  5. Use File / Clone to make an exact copy of the image with the text as it stands right now, just "clean text." We'll use this image a few steps from now.

  6. Using Filter / Blur, blur the original text image (we used a setting of 100 here):

  7. Use Filter / Relief at a setting of -4 on the entire image.

  8. Now we want to "raise" the foil using the profile of the text we generated with the Relief operator. To accomplish this, use Math / Add / Add About Grey to add the letters (the source image) to the gold foil (the action image. Do it twice for greater effect as we show here:

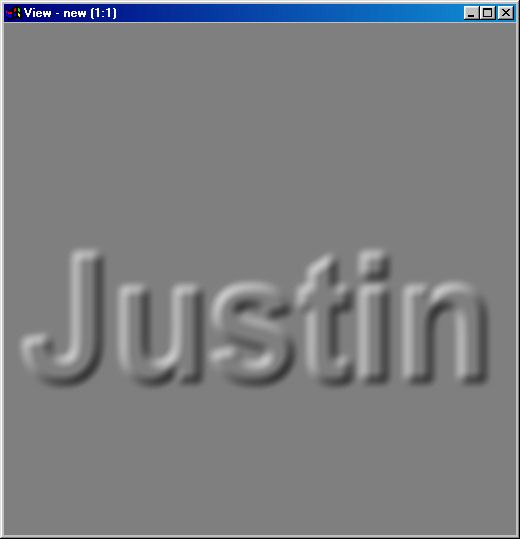
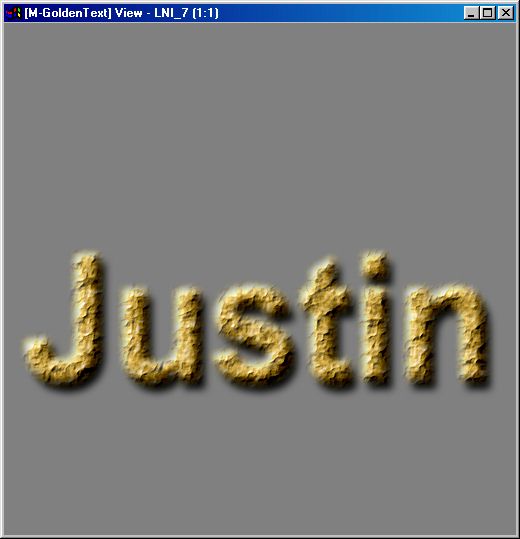
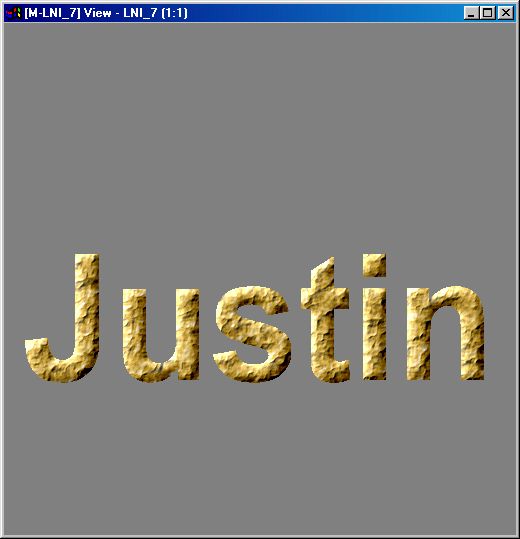
    You won't need the grey image with the Relief effect in it any longer, you can close it if you like.

  9. Using Alpha / Make Alpha set to subtract from alpha channel, subtract 255 using the magic wand, clicking on the white area in the copy of the text image you made. Click some distance from the text. You should get a result similar to this:

  10. Now we need to make a layered image. Click once on the title bar of the gold foil image, and press the L key or select Layers from the window's corner menu.

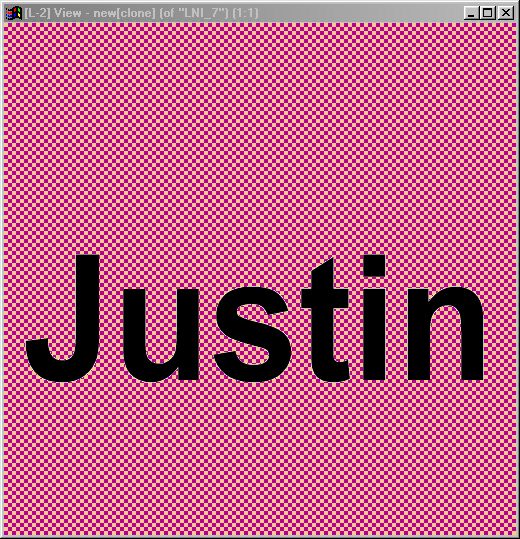
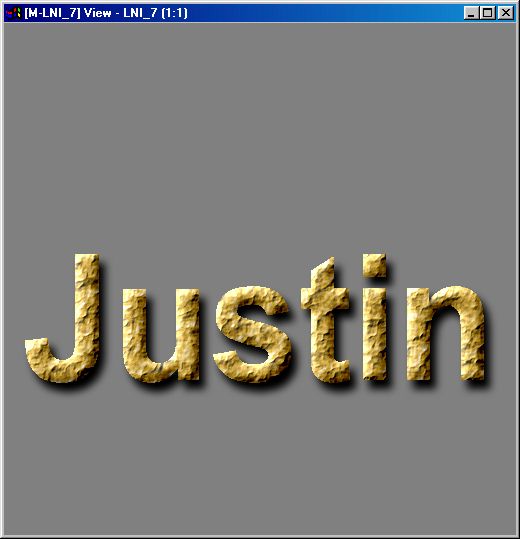
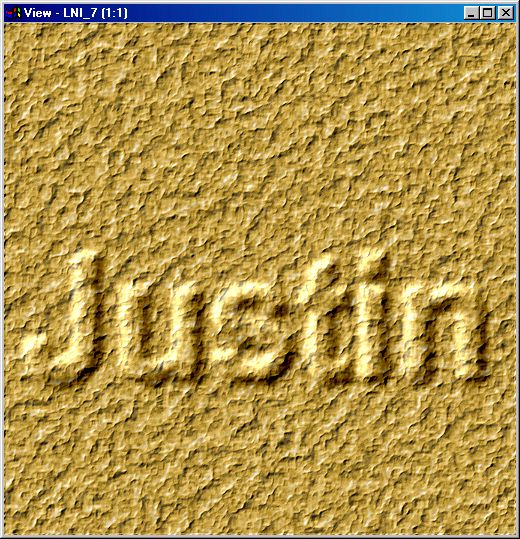
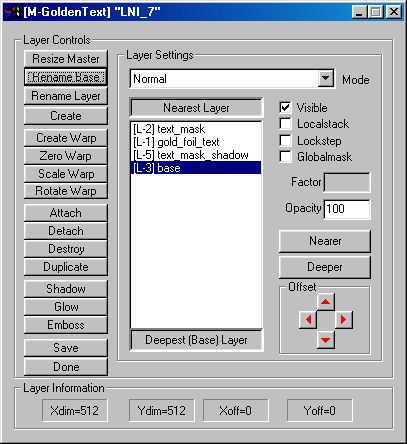
    Promote the image to a layered image. You'd be smart to name the new layer "Goldfoil" or something similar at this point.

  11. Now, attach the text copy that has the transparent alpha, and move it to the top of the layer list. Rename this layer to "Textmask". Change its mode to Mask, and click the Localstack checkmark to on. The master image should now look like this:

  12. Using the layers dialog, create a new layer. This will appear below the other layers, which is just where we want it - it's going to be a base image underneath the foil text. So (what else?) name the layer "Base". Then use Standard / Color Fill with a neutral grey, using the RGB values 128 128 128 and fill the new layer. The master should now look like this:

  13. Now, in order to give it that 3D look, we want to add a shadow. WinImages F/x can generate shadows automatically if there is a masked shape and (conveniently enough) there is. The top layer which masks the text is the shape of the text, so we select that and then use Shadow. We used 100 as the diffusion setting. The shadow is automatically placed underneath the mask, so move it down so that it sits right above the base. Adjust the shadow layer's opacity and offset to taste, and here you go:

  14. Now, you'll probably want to place the text over something besides that neutral background. In order to make the layers move as one, for the shadow, the foil text and the mask, select the Lockstep checkmarks, then you can move the group of three layers as one by clicking on the lowest one (the shadow) and moving it. The text is now essentially a stand-alone object you can use!

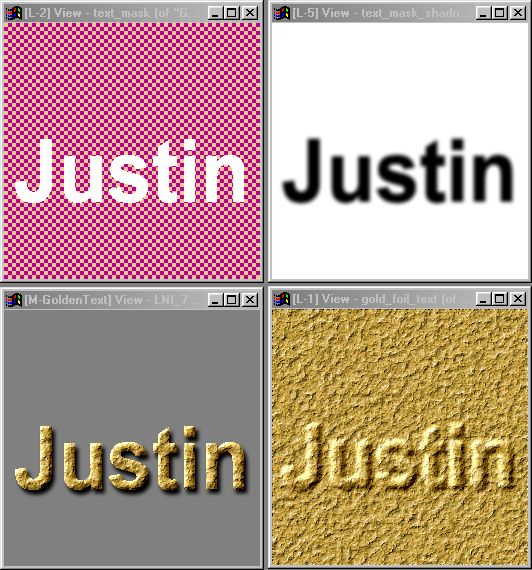
    Here's what your layers dialog and layers might look like now:

Tip:

...a little something from the propeller-heads at Black Belt Systems
Don't assume that's all you can do. We got the following nifty "rising from the mush" look by applying Filter / Blur of 100 to the text_mask layer:


Quick Nav Bar
<<   Previous Contents
Selection
Op Index
Parent User Notes
Index
Glossary
Next   >>
Page 317

WinImages F/x, WinImages Morph and all associated documentation
Copyright © 1992-2007 Black Belt Systems ALL RIGHTS RESERVED Under the Pan-American Conventions

WinImages F/x Manual Version 7, Revision 5, Level B

HTML Documentation Management System © 1992-2007 Black Belt Systems