| Quick Nav Bar | ||||||||
|---|---|---|---|---|---|---|---|---|
| << Previous | Contents |
Selection |
Op Index |
Parent | User Notes |
Index |
Glossary |
Next >> |
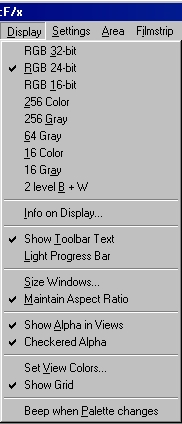
The display mode controls allow you to tell WinImages F/x the display format your computer is using, and therefore the mode that the images will be displayed in. You may select display modes ranging from full color 32-bit to a 2 color Black and White display. This flexibility allows you to alter your display mode to best fit your computer system and any display hardware. A display mode is selected by simply clicking it with the left mouse button. After you have selected the display mode to be used with your system, WinImages F/x will redraw all views to reflect the changes made to the display mode. This setting will be saved as the default display mode when you exit the program.

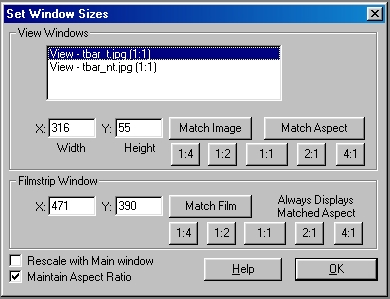
This dialog also contains controls for sizing the filmstrip control window. Selecting the Match Image control will cause the filmstrip window to be the same resolution as the last sized image. This is not the same as having the actual filmstrip the same resolution as the current action image. In this case we are only changing the size of the window, not the resolution of the contents. This can be changed through the Filmstrip menu's Filmstrip Pixel Resolution control.
|
The filmstrip and its controls are always aspect correct.
The Rescale with Main window control will force all of the views to resize if the Main program window is resized. The Maintain Aspect Ratio button allows you to have all of the current views maintain their aspect ratio when resized. This control is also available in the Display pull down menu.
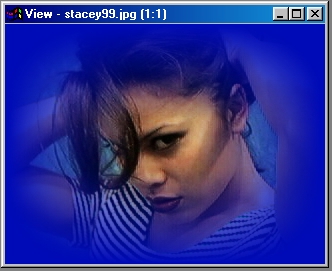
 Image resized, aspect maintained |
 Image resized, aspect ratio free |
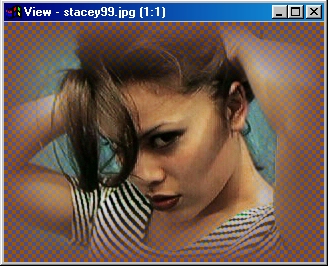
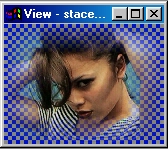 Checkered Alpha Backdrop |
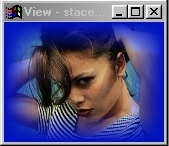 Flat Alpha Backdrop |
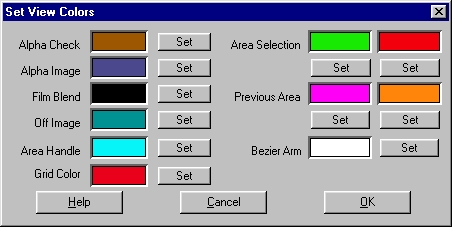
Set Alpha Check Color
This works with the Alpha View Color to produce the alternate checker pattern when Display / Checkered Alpha is on.
Set Alpha View Color
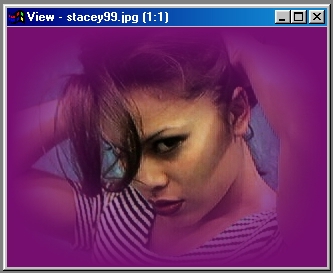
This option is used to specify the alpha channels color for the Show Alpha in Views option. Selecting this option will bring WinImages F/x's color selection dialog to the front. You should use the provided color selection tools to select the desired alpha channel color, and then press the Done button. In the example image below, the Alpha View color has been set to a purple color, and checkered alpha is off.
Set Filmstrip Blend Color
This color is used to represent alpha information in the filmstrip, which is 24 bit (not 32) and connot actually show transparency. This allows you to choose a blending color; note that blending has to be on in the File Menu, Preferences dialog.
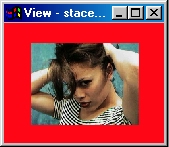
Set Off Image Color
The Set Off Image Color option is used to specify the color that will appear at the image's edge in maximized or full screen mode. This color is set using the Color Selection dialog. This dialog has a wide range of tools, and preset colors which can be used as the "off image" color.
Area Selection Marquee Color
These four settings allow you to control the appearance of the marquee display to a fine degree. Using colors that are distinct and easily remembered (and to your own taste), you can set all the selection colors. The example below shows how useful this is in the Draw First area selection mode:
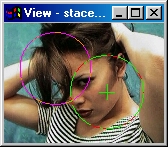 Previous Elliptical area (purple/orange) & Current (green/red) |
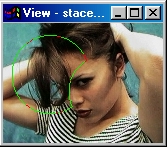 Result of subtracting new area (using the ctrl key) |
Set Line Color 1
The Set Line Color 1 option is used to specify the color that will appear as the longer dash for the marquee display. This color is set using the Color Selection dialog. This dialog has a wide range of tools, and preset colors which can be used as the "off image" color.
Set Line Color 2
The Set Line Color 2 option is used to specify the color that will appear as the shorter dash for the marquee display. This color is set using the Color Selection dialog. This dialog has a wide range of tools, and preset colors which can be used as the "off image" color.
Set Previous Color 1
The Set Previous Color 2 option is used to specify the color that will appear as the longer dash for the marquee of an existing area selection. This color is set using the Color Selection dialog. This dialog has a wide range of tools, and preset colors which can be used as the "Previous" color.
Set Previous Color 2
The Set Previous Color 2 option is used to specify the color that will appear as the shorter dash for the marquee of an existing area selection. This color is set using the Color Selection dialog. This dialog has a wide range of tools, and preset colors which can be used as the "Previous" color.
Set Handle Color
The Set Handle Color option is used to specify the color that will appear as the movement handles for the area selection editing tool. This color is set using the Color Selection dialog. This dialog has a wide range of tools, and preset colors which can be used as the "off image" color.
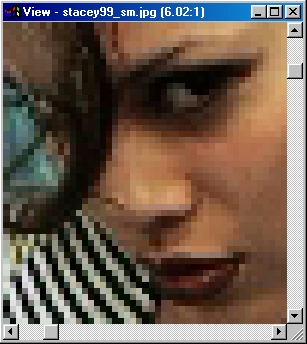 Grid Off, mag factor 6.02 |
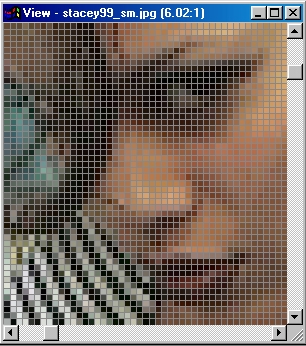 grid on, mag factor 6.02 |
The grid shows as a single line drawn to surround image pixels. Area selections affect any pixel that they intercept the content of in any manner. For instance, using freehand, you can click anywhere inside a grid boundary and that pixel will be selected. Using a rectangle, if the selection surrounds a pixel by going through each of the eight pixels surrounding it, then all eight pixels are included in the area selection, as shown in the following examples:
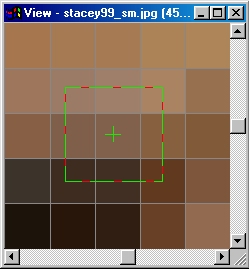 Area Selection on Grid |
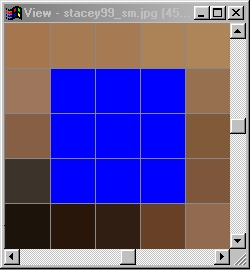 Pixels affected by selection |
| Quick Nav Bar | ||||||||
|---|---|---|---|---|---|---|---|---|
| << Previous | Contents |
Selection |
Op Index |
Parent | User Notes |
Index |
Glossary |
Next >> |
| WinImages F/x Manual Version 7, Revision 5, Level B |